Hello, FL Studio sound-chefs! Welcome back to your sonorous kitchen. Just as every chef’s secret is in their unique mix of spices, so is every music producer’s in their choice of plugins. Today, we’re going to master the art of “How to add plugins to FL Studio”. Plugins are like spices, they can turn a basic melody into a flavorful symphony that delights the listener’s senses.
Have you ever watched a chef prepare a dish? They carefully select each spice, adding a pinch of this and a dash of that, to create the perfect flavor. Now, imagine if that chef only had salt and pepper. Their dishes might be good, but they wouldn’t have that wow factor. That’s why they’re always hunting for new spices to add to their pantry.
In the world of music production, you’re the chef. Your music is the dish, and plugins are your spices. FL Studio is your kitchen, filled with an endless array of sonic flavors waiting to be explored. The more plugins you have, the more diverse and exciting your music can be. But how do you add more spices to your kitchen? How do you add plugins to FL Studio?
This is the question we’re going to answer today. Whether it’s a hot new synth, a zesty equalizer, or a tangy reverb, we’ll walk you through the process of adding this new flavor to your musical kitchen. So, put on your chef’s hat, and let’s get cooking!

How to add plugins to FL Studio: Welcome Your New Plugin
Just like any culinary expert seeking exotic spices in a bustling marketplace, your first step is to choose your plugin and bring it home. The world of music plugins is vast and varied – much like a spice bazaar. You have the punchy kick drums, the tangy synths, the smooth reverb, or perhaps the zesty distortions, each adding a unique flavor to your mix.
Once you’ve found your perfect plugin, download it and install it on your system. Remember where you saved this file; it’s like storing your new spice in the pantry. It’s crucial to know where you’ve placed it, as you’ll need to direct FL Studio to this location.
Installing a plugin can sometimes feel like you’ve brought home a new exotic spice. You’re not quite sure how it will taste in your mix, or how much to use. But that’s part of the fun! With each new plugin, you expand your culinary audio palette and open up a world of exciting flavors for your music.
So, have you chosen your new spice? Downloaded and installed? Great! Let’s move on to the next step: guiding FL Studio to your new treasure so you can learn how to add plugins to FL Studio.
Guide FL Studio to the Treasure
Now that you’ve procured a new spice, it’s time to put it in the right place in your kitchen. In other words, we need to let FL Studio know where this new plugin is stored. Picture it like telling a sous-chef (FL Studio) where you’ve stored the saffron (the plugin).
Here’s how you can do it. Imagine FL Studio as your ever-helpful kitchen assistant. Open the Browser, which is like the main menu of your kitchen. Navigate through Plugin database > Installed > Effects or Generators. This path is your FL Studio’s recipe to finding the plugins you’ve added to your pantry.
Consider this step as neatly arranging your spices in a spice rack. Organizing them makes it easier to grab them when you’re in the middle of cooking up a storm, or in our case, in the middle of a creative surge.
Once you’ve shown FL Studio the path, it knows exactly where to find the new spices in your rack. But we’re not done yet! Now it’s time for the grand introduction of your new spice to the rest of your music kitchen.
Positioning Your New Toy
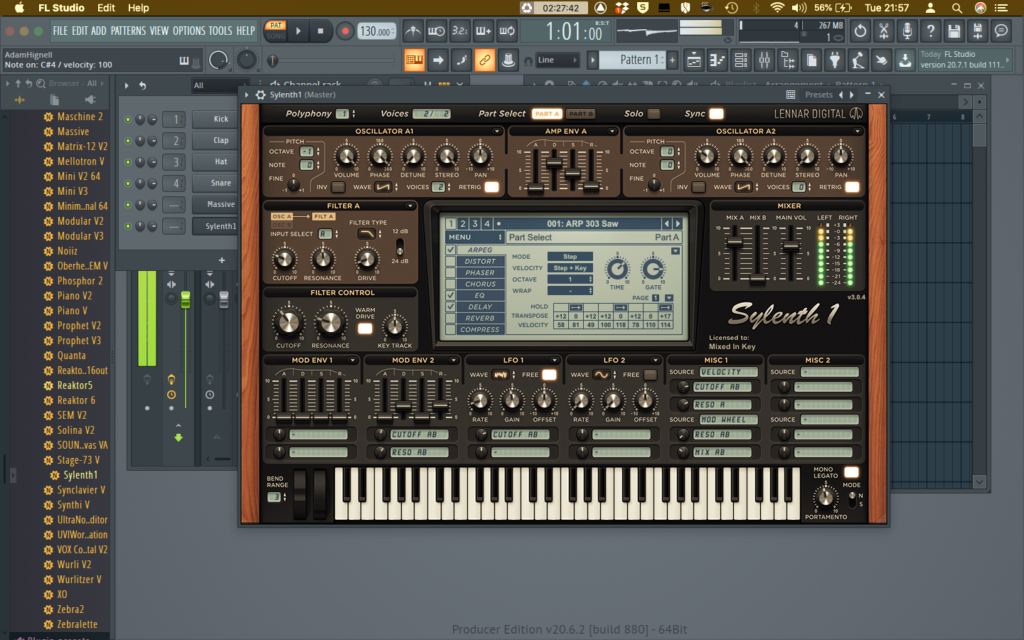
Now, it’s time to unveil your new plugin. Imagine this as the moment when you open a fresh jar of spice. You’re ready to see how it mixes with the rest of your ingredients. You want to add it to your Channel Rack button or the Mixer, like adding a new spice to your favorite dish.
In FL Studio, this is the moment when your new plugin really becomes part of your musical cuisine. You’ve shown FL Studio where the new spice is kept, now it’s time to start using it! You’ll just need to drag and drop your new plugin to the Channel Rack or the Mixer.
Think of it like introducing a dash of paprika into a sizzling pan. The moment it hits, the whole dish starts to change. That’s the power of a plugin in your music production. Each one adds a new layer of flavor, complexity, and excitement.
Remember, adding a plugin is not just about boosting your sound. It’s about exploring new creative possibilities, and creating a unique signature sound that is yours alone. So, now that your plugin is in the right place, let’s see how to fine-tune the process.
Fine-Tuning the Process
Alright, you’ve introduced your new spice into the pot, but sometimes it needs a little adjusting. This step is much like finely chopping or grinding your spices before adding them to your dish. In the world of FL Studio, it means we need to give the software a bit more guidance to optimize the usage of the plugin.
This is where the Plugin Manager comes in, FL Studio’s own spice grinder if you will. Navigate to it and click on “Add path”. Here, you’ll indicate the specific installation folder for your plugin. This is like telling your kitchen assistant not just which spice to use, but also how to prepare it.
When you manually add the installation folder in the Plugin Manager, it’s like customizing how you want your spices to blend in your dish. You’re making sure that FL Studio can find and utilize your new plugin as effectively as possible.
This step is crucial as it ensures that FL Studio knows exactly where to look for your plugin. It’s like giving it a flashlight to search the corners of your pantry. With this, you’re making sure that your new spice isn’t just sitting pretty in your rack, but is ready to be used to create some mouth-watering music. But before we get to the cooking, there’s one more step to complete. Let’s move on to the final verification.
Verifying Your New Treasure
In any recipe, it’s essential to taste your dish before serving it. The same goes for our process here. This step is like a quality check before the grand reveal.
In the Plugin Manager, you’ll find a little box that says “Verify plugins”. Think of this as our taste-tester. This is FL Studio’s way of making sure it’s got the right spice, the right plugin. When you check this box, it prompts FL Studio to take a final scan for new plugins.
This is akin to a chef sampling their dish, making sure the balance of flavors is just right. And if everything goes according to plan, your new plugin will make its grand debut in the list. It’s the equivalent of achieving the perfect flavor in your dish.
With this, congratulations are in order! You’ve successfully added a new plugin, a new spice to your musical kitchen. You’ve expanded your FL Studio’s palette, ready to serve up even more tantalizing tunes.
The world of music production, much like a kitchen, is all about exploring and combining different elements to create something delightful. So keep experimenting with new plugins and let your creativity shine through your music. Remember, the best dish is the one that carries your signature flavor.
Quick Guide: How to Add Plugins in FL Studio
- Locate Installed Plugins: Open the Browser and navigate through Plugin database > Installed > Effects or Generators. Here, you can see all installed plugins, like viewing your spice rack.
- Integrate the Plugin: Drag and drop the plugin file from the Browser to a Channel Rack button or the Mixer, much like adding a new spice to your dish.
- Manually Add the Plugin: Sometimes, FL Studio needs a little more guidance. Go to the Plugin Manager, click on the “Add path” button, and locate the installation folder for the plugin. It’s akin to finely chopping your spices before adding them.
- Verify the New Plugin: Lastly, don’t forget to check the “Verify plugins” box in the Plugin Manager. This is FL Studio’s way of scanning for new plugins, much like taste-testing a dish before serving.